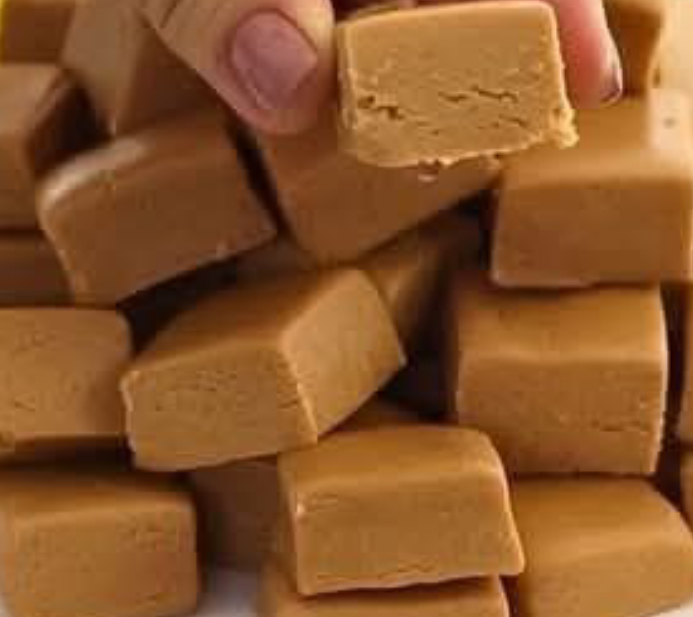
Certainly! Here is a complete, detailed, and long recipe for Dulce de Leche Squares, a delicious dessert featuring a buttery shortbread base topped with rich, creamy dulce de leche and a crisp crumble top. It’s a heavenly treat that blends caramel sweetness with a hint of salt and crunch.
Dulce de Leche Squares – Complete Recipe
🍬
Yield:
16–20 squares
🕒
Total Time:
1 hour 30 minutes (plus cooling time)
🌡️
Oven Temperature:
350°F (175°C)
🧈 Ingredients
For the Shortbread Base & Crumble Topping:
- 1 cup (2 sticks or 226 g) unsalted butter, room temperature
- 1/2 cup (100 g) granulated sugar
- 1/4 cup (50 g) light brown sugar, packed
- 2 tsp vanilla extract
- 1/2 tsp salt
- 2 1/4 cups (280 g) all-purpose flour
- 1/4 tsp baking powder
For the Filling:
- 1 can (14 oz or 400 g) dulce de leche (homemade or store-bought)
- 1/2 tsp sea salt (optional, for salted caramel flavor)
- Optional: 1/4 cup chopped pecans or walnuts (for crunch in filling)
- Optional: 1 tsp espresso powder (for flavor depth)
👨🍳 Instructions
Step 1: Preheat and Prepare the Pan
- Preheat your oven to 350°F (175°C).
- Line a 9×9-inch (23×23 cm) square baking pan with parchment paper, leaving some overhang for easy removal.
- Lightly grease the parchment paper with butter or nonstick spray.
Step 2: Make the Shortbread Dough
- In a large mixing bowl, cream together the butter, granulated sugar, and brown sugar until light and fluffy (about 3–4 minutes with an electric mixer on medium).
- Add the vanilla extract and mix until combined.
- In a separate bowl, whisk together the flour, baking powder, and salt.
- Gradually add the dry ingredients to the butter mixture and mix until a soft dough forms.
- The dough will be a bit crumbly but should hold together when pressed.
Step 3: Form the Base
- Press about 2/3 of the dough into the bottom of the prepared pan. Use your hands or the bottom of a flat glass to make it even.
- Prick the base lightly with a fork to prevent bubbling.
- Bake in the preheated oven for 15–18 minutes, or until the edges are lightly golden.
- Remove from oven and let cool for about 5–10 minutes.
Step 4: Prepare the Filling
- If the dulce de leche is too thick to spread, gently heat it in a small saucepan or microwave for 15–20 seconds until smooth and pourable.
- Stir in sea salt, espresso powder, or chopped nuts if using.
- Spread the dulce de leche evenly over the cooled shortbread base.
Step 5: Add the Crumble Topping
- Crumble the remaining 1/3 of the dough over the dulce de leche layer.
- Don’t worry about covering it perfectly—some of the caramel should peek through.
- Optional: Sprinkle extra sea salt flakes or chopped nuts on top for texture.
Step 6: Bake Again
- Return the pan to the oven and bake for another 25–30 minutes, or until the topping is golden brown and set.
- Watch the edges—they should be a bit darker but not burnt.
Step 7: Cool and Slice
- Let the pan cool completely at room temperature—this helps the filling set.
- For neater cuts, refrigerate for at least 1 hour before slicing.
- Use the parchment paper to lift the bars out of the pan.
- Cut into squares using a sharp knife, cleaning between cuts for clean edges.
🍽️ Serving Suggestions
- Serve slightly warm with vanilla ice cream.
- Drizzle with chocolate or caramel sauce for extra indulgence.
- Sprinkle with powdered sugar for a beautiful finish.
💡 Tips and Variations
- Nutty Crunch: Add 1/2 cup of chopped pecans or hazelnuts to the crumble topping.
- Chocolate Twist: Stir mini chocolate chips into the topping dough.
- Spiced Base: Add 1/2 tsp cinnamon or cardamom to the dough for a warm flavor.
- Dulce de Leche Substitute: Use thick caramel sauce or sweetened condensed milk boiled into caramel if needed.
🥄 Storage
- Store in an airtight container at room temperature for up to 3 days or in the refrigerator for up to 1 week.
- Freeze individually wrapped bars for up to 3 months. Thaw at room temperature before serving.
Would you like a printable version of this or a version adapted for gluten-free or vegan diets?
